// Block 1 of 10 · 2–3 sessions
Your first object in one session
Five tools, mirror symmetry and face colors — no UV unwrapping.
- Duration
- 2 sessions · ~2 h each
- Checkpoint
- A finished, colored, symmetrical object — your first showpiece of the year.
- Challenge
- A second object with more complex symmetry, or a palette for a mood (“rusty metal” vs “neon toy”).
#The idea of the block
At the introductory session you already did two things: you said what you want to learn to make and you put together a rough silhouette of that idea from primitives. Block 1 is the bridge from “a pile of cubes and balls” to a first object you actually want to show: colored, detailed, made in a single evening.
The technique is borrowed from game-asset blockout practice (the Imphenzia channel): five tools + the Mirror modifier + face colors without UV unwrapping. This minimal set is no accident: these five actions cover almost everything a beginner needs for a blockout, and skipping UV unwrapping removes the step where everybody usually gets stuck. You see a colored result right away, not a grey blank.
The key skill of the block is recognizing the right tool from the shape of the task instead of hunting through menus at random.
#Session 2 — the five tools
Take your silhouette from the introductory session (or, if your idea has changed, start a new blockout — it takes a few minutes).
| Tool | What it does | Example |
|---|---|---|
| Extrude E | pulls a face or an edge out into new geometry | pull a ship’s nose out of a starting cube |
| Inset I | creates a smaller face inside the selected one | an inset for a porthole before pushing it in |
| Bevel Ctrl+B | chamfers a sharp edge, removes the “plastic” look | round the corners of a hull |
| Loop Cut Ctrl+R | adds a loop of edges across a form | cut a wing so you can pull out an aileron later |
| Mirror (modifier) | mirrors one half across an axis | turn it on first — and forget about it |
#Each tool a bit closer up
- Extrude (E). After pressing it, move the mouse — the pull follows the face’s normal (usually exactly what you want). To lock the move to one axis, press X, Y or Z right after E. If the arrow gizmo doesn’t show up, check that you’re in Edit Mode, not Object Mode: E does nothing to the mesh there.
- Inset (I). The new outline is always a bit smaller and lies exactly in the plane of the original face. The next E on that inset face then follows the normal precisely — that’s why Inset goes BEFORE Extrude, not instead of it.
- Bevel (Ctrl+B). Drag with the mouse to set the width of the chamfer; the scroll wheel while dragging adds segments (the corner becomes rounded instead of just cut at an angle). For most blockouts 1–2 segments are enough to take the “sharpness” off.
- Loop Cut (Ctrl+R). First just move the mouse over the form — a yellow preview line “tries” to sit as an even loop around the object on its own. One click fixes the count and direction, a second click (or Esc) leaves the loop exactly centered, without sliding it.
- Mirror. Find it in Modifier Properties (the wrench icon on the right-hand panel) → Add Modifier → Generate → Mirror. The default axis is X, and for most “left-right” blockouts that’s exactly the one you need; Y or Z only matter for other kinds of symmetry (say, “front-back”).
#A worked example (not an assignment — one possible path)
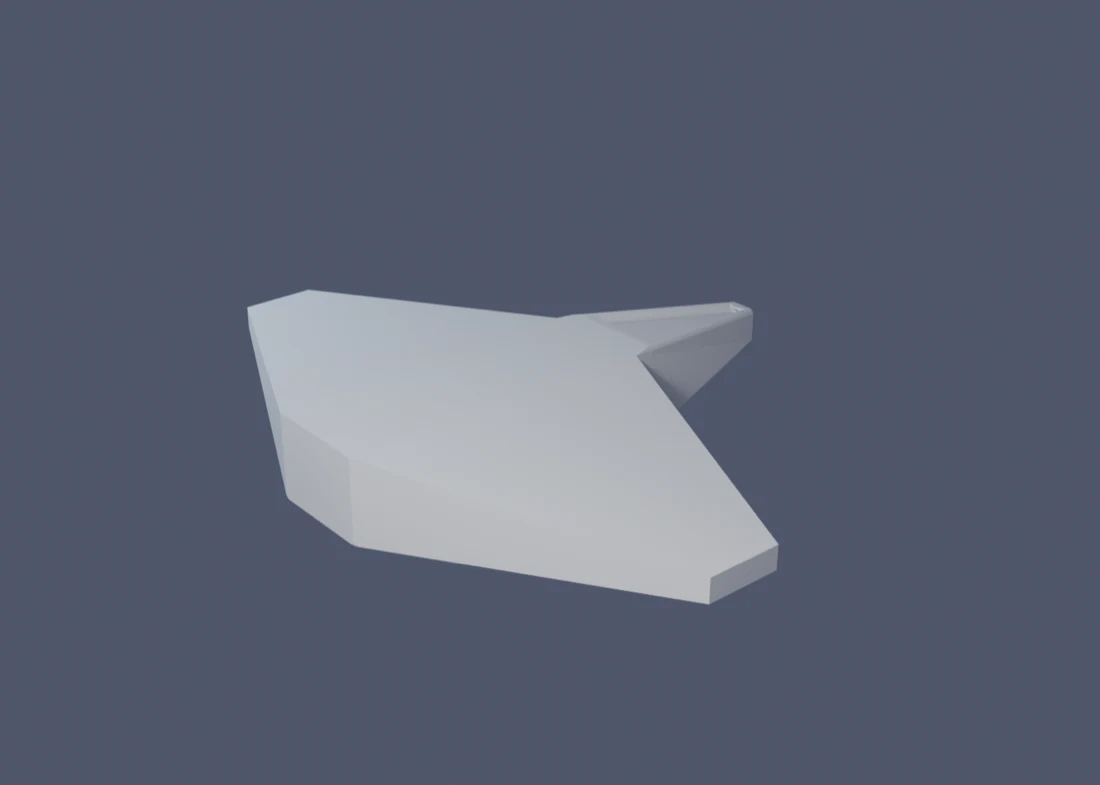
This is not what you have to build: you pick your own object, and the example below isn’t about a specific shape — it’s about the sequence of actions. To see all five tools work together, here’s an end-to-end example on a neutral object — a small spaceship.
- Blank shape. Add → Mesh → Cube. In Edit Mode, stretch it along one axis (S → axis → number): the cube becomes an elongated block — the future fuselage.
- Mirror first. Before any detailing, add a Mirror modifier (axis X, the default). Nothing will visibly change yet — that’s normal: there’s nothing to mirror so far.
- Nose — Extrude. Select the front face of the block, E pull it forward, then S scale that new face down — you get a tapered nose.
- Wing — Extrude, and this is where Mirror comes alive. Select a side face on one side (+X), E pull it outward. The second wing appears right before your eyes, on the opposite side — this is the exact moment Mirror was turned on for, before any detailing.
- Porthole — Inset. On the top face near the nose: I creates a smaller inset face. Optionally, a small E inward marks a recess.
- Round the hull — Bevel. Select the long lengthwise edges of the fuselage, Ctrl+B, drag — the sharp corners soften.
- Panel line — Loop Cut. Ctrl+R across the fuselage roughly at the midpoint — a loop you can later use as the boundary of a hatch (a plan ahead for Block 2).
The result is a recognizable ship silhouette, built from exactly the same five actions as in the table above. Adapt every step to your own idea: instead of a ship it could be a car, a creature or a building — the sequence of actions stays the same.
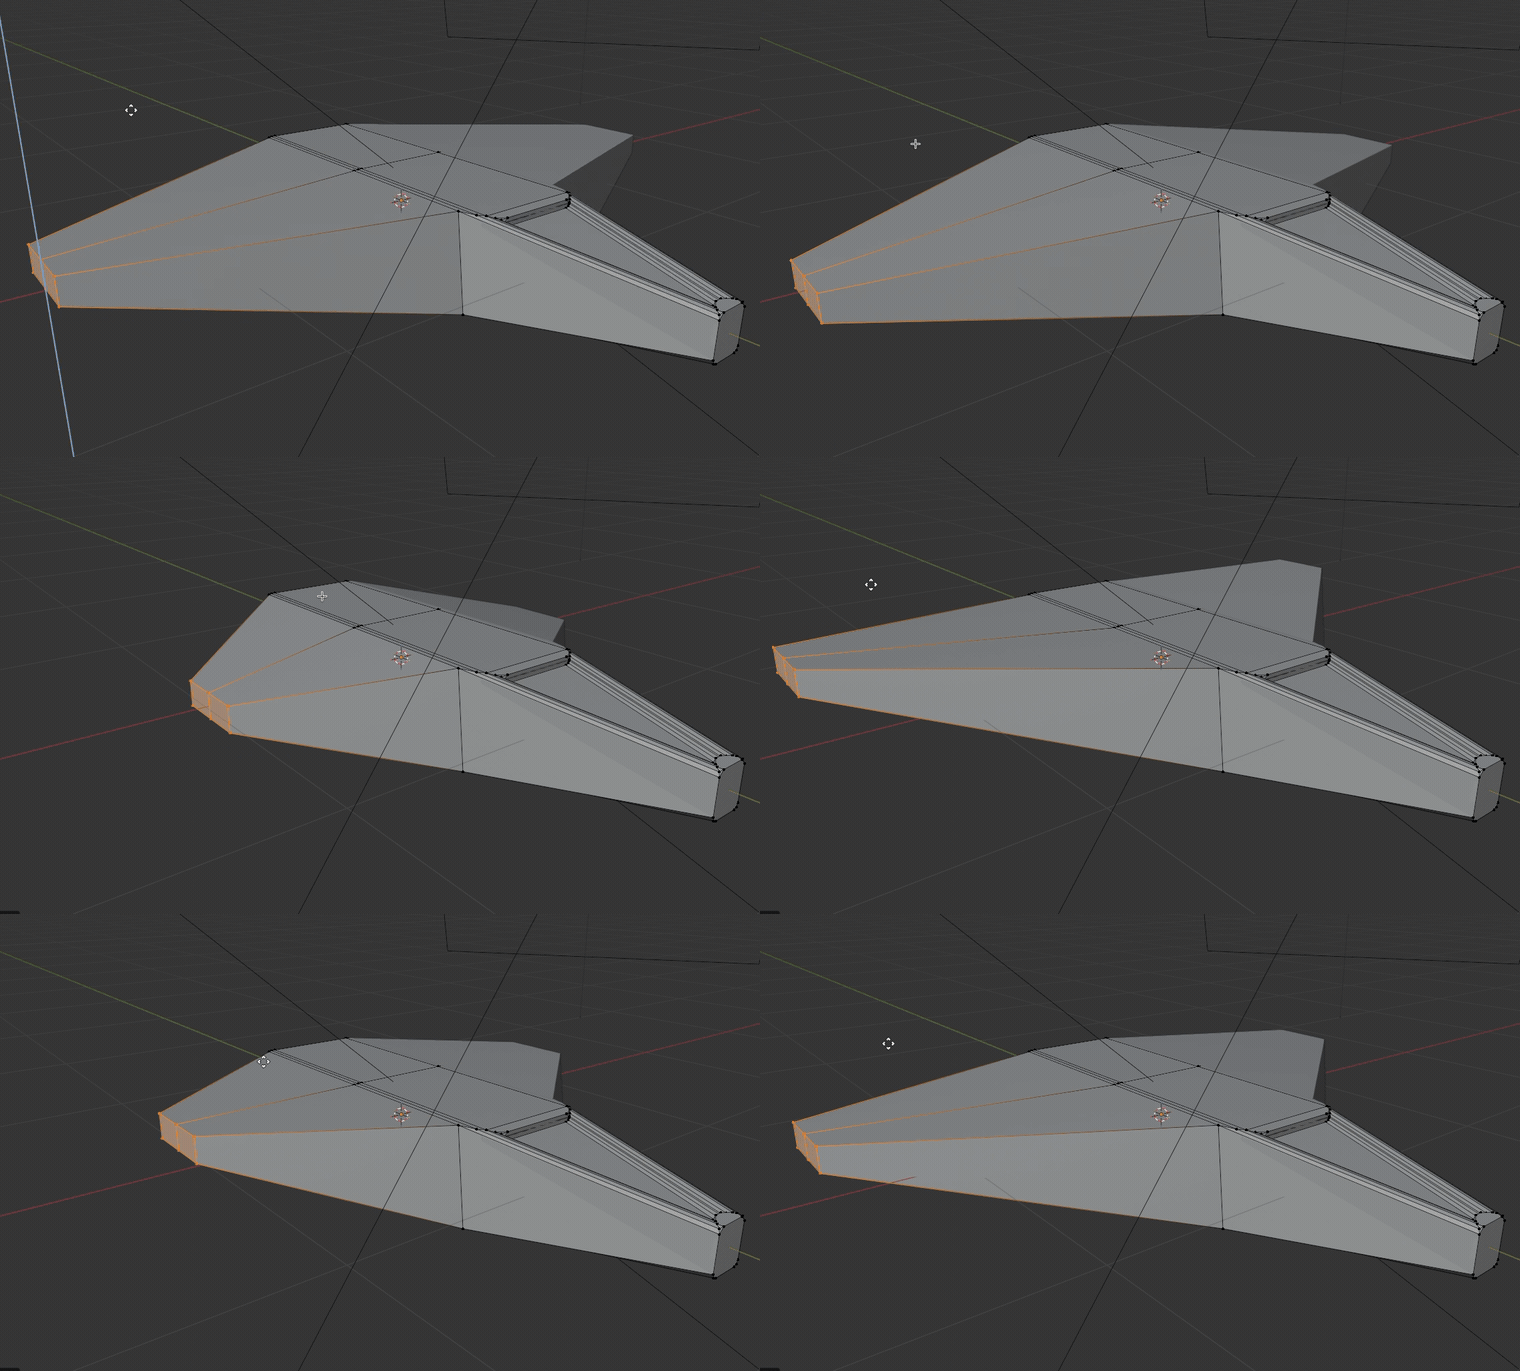
A working order that goes well:
- Turn on Mirror first (if the object isn’t symmetrical yet, check it now — it’s the cheapest thing to fix at the start). From then on edit only one half: the other repeats every move.
- Extrude and Inset — add the protrusions that separate the silhouette from “just a cube”: a cockpit, a barrel, an ear, a tower.
- Bevel — go over the sharp corners at the end, when you’re happy with the form.
- Loop Cut — add 1–2 loops where you need detail inside a big flat area. No more: this is a blockout, not the final model.
#Session 3 — color without painting
In a “grown-up” workflow there would be a separate, tedious stage here: unfold the model into a flat pattern, like an apple’s peel, and paint a texture on it. Today we skip that stage entirely. Beautiful doesn’t always mean complicated.
Two ways, both without a single click on a UV map:
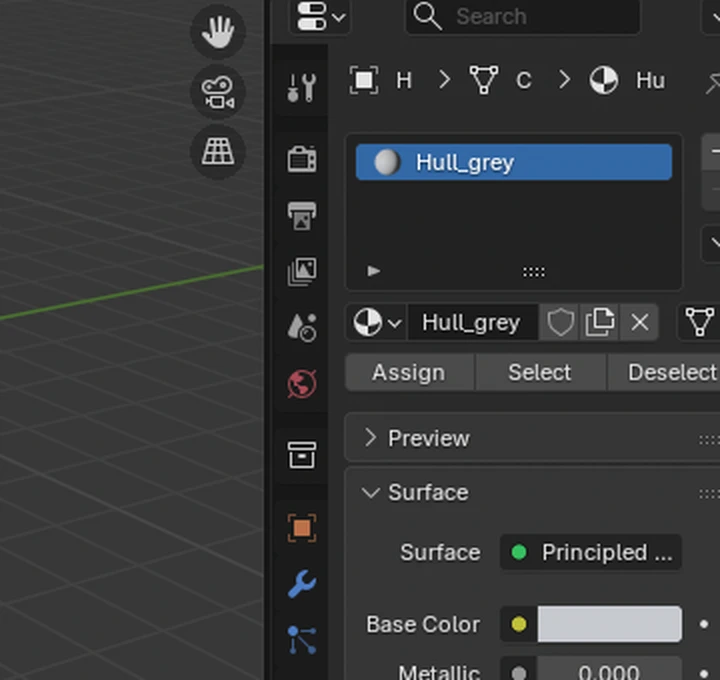
- A material per face. In Edit Mode select the faces you need (face select mode — the third icon at the top left, or 3) → in the Properties panel on the right open the Material tab (the checkered-sphere icon) → New → rename the material right away (a habit that pays off again in Block 7) → change the Base Color → press Assign. If Assign is greyed out, you’re either not in Edit Mode or nothing is selected.
- Vertex Paint. Switch the mode dropdown at the top left (where Object Mode/Edit Mode usually is) to Vertex Paint, pick a brush color on the left and paint straight onto the vertices. Faster for organic, smooth color transitions; Assign-by-face is more precise for sharp boundaries between colored areas.
To see color in the viewport, switch the display to Material Preview (the sphere button at the top right).
The palette principle: 4–6 colors for the whole object is already enough. Fewer and the object looks monotonous, more and it’s hard to keep it coherent. Contrast between neighboring faces matters more than the number of shades. And the rule “one part — one color”: don’t mix shades within a single functional part.
#A palette example (the same ship)
Continuing the example from session 2. Five functional parts, five colors:
- hull — light grey: the neutral base, covers the largest area;
- nose — a slightly darker grey: sets the shape apart without competing with the base;
- wings — the same grey as the hull, or one shade cooler: the wings extend the hull rather than announcing a new idea;
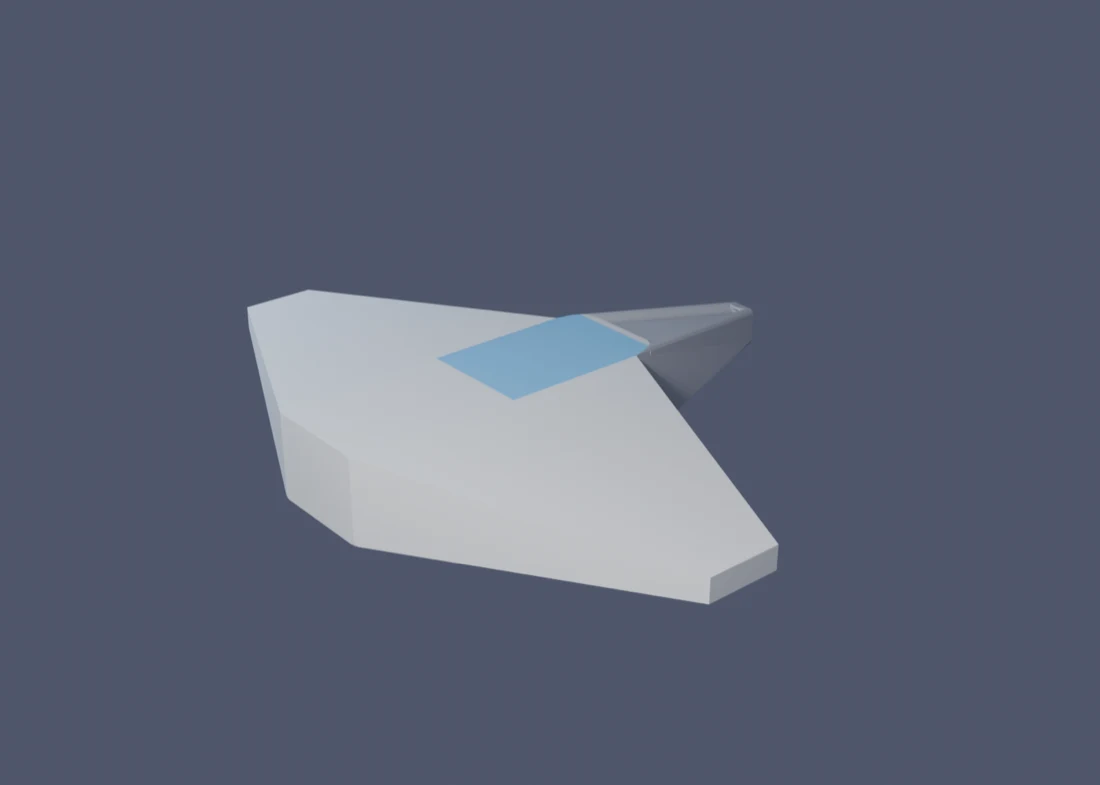
- porthole — a contrasting cool accent (say, cyan): the only genuinely “colorful” detail, which is exactly why it catches the eye first;
- the panel line from Loop Cut — a thin dark stripe along the loop: optional, but it shows that the loop isn’t just technical — it “reads” on the silhouette too.
This is the “contrast matters more than the number of shades” rule in practice: four of the five colors are variations on one neutral grey, and only one is genuinely contrasting. The eye reads at a glance where the object’s main detail is. (The result is the same “after” photo at the top of the page.)
#Common problems
| Problem | Why it happened | The fix |
|---|---|---|
| Mirror doesn’t give symmetry: the other half appears in the wrong place or not at all | The object isn’t centered on its origin, or the wrong axis (X/Y/Z) is chosen in the modifier | Object → Set Origin → Origin to Geometry, then check the axis in the Mirror modifier itself |
| After Extrude/Inset part of the form “caves in” or is turned inside out | You pulled or inset in the wrong direction | Undo (Ctrl+Z) and repeat, watching the direction of the blue gizmo arrow before you confirm |
| The color you assigned to a face doesn’t show in the viewport | The viewport is in Solid mode rather than Material Preview, or the faces weren’t selected before Assign | Switch the viewport to Material Preview; make sure the faces are selected before you press Assign |
| Extrude / Inset / Bevel / Loop Cut do nothing | You’re in Object Mode, not Edit Mode — these tools only work on geometry inside an object | Press Tab to enter Edit Mode and make sure something is selected |
| Bevel is invisible, or it “eats” the whole face | The Amount is too small (invisible) or too large for the face (eats neighboring geometry) | Drag more slowly and watch the viewport live; start with a small Amount and increase as needed |
#Before the session
- Blender 5.2 LTS installed (free, runs on any PC).
- The hotkey list for the five tools (the table above) — print it or keep it in front of you: nobody has to memorize it the first time.
- Your notes about your idea from the introductory session, if you kept them.
- Practice in “See the Shape”: it warms up the eye before a blockout.